

Note – this article is part of an ongoing series – previous articles can be found here.
I’m back again this week with another battle report. Hot off the heels of my victory against Jon’s mighty Empire of Dust, I pitted my Ogres against the courage of Keith’s Dwarfs. Keith is an avid local gamer, Master’s player, and guest contributor to -/28.
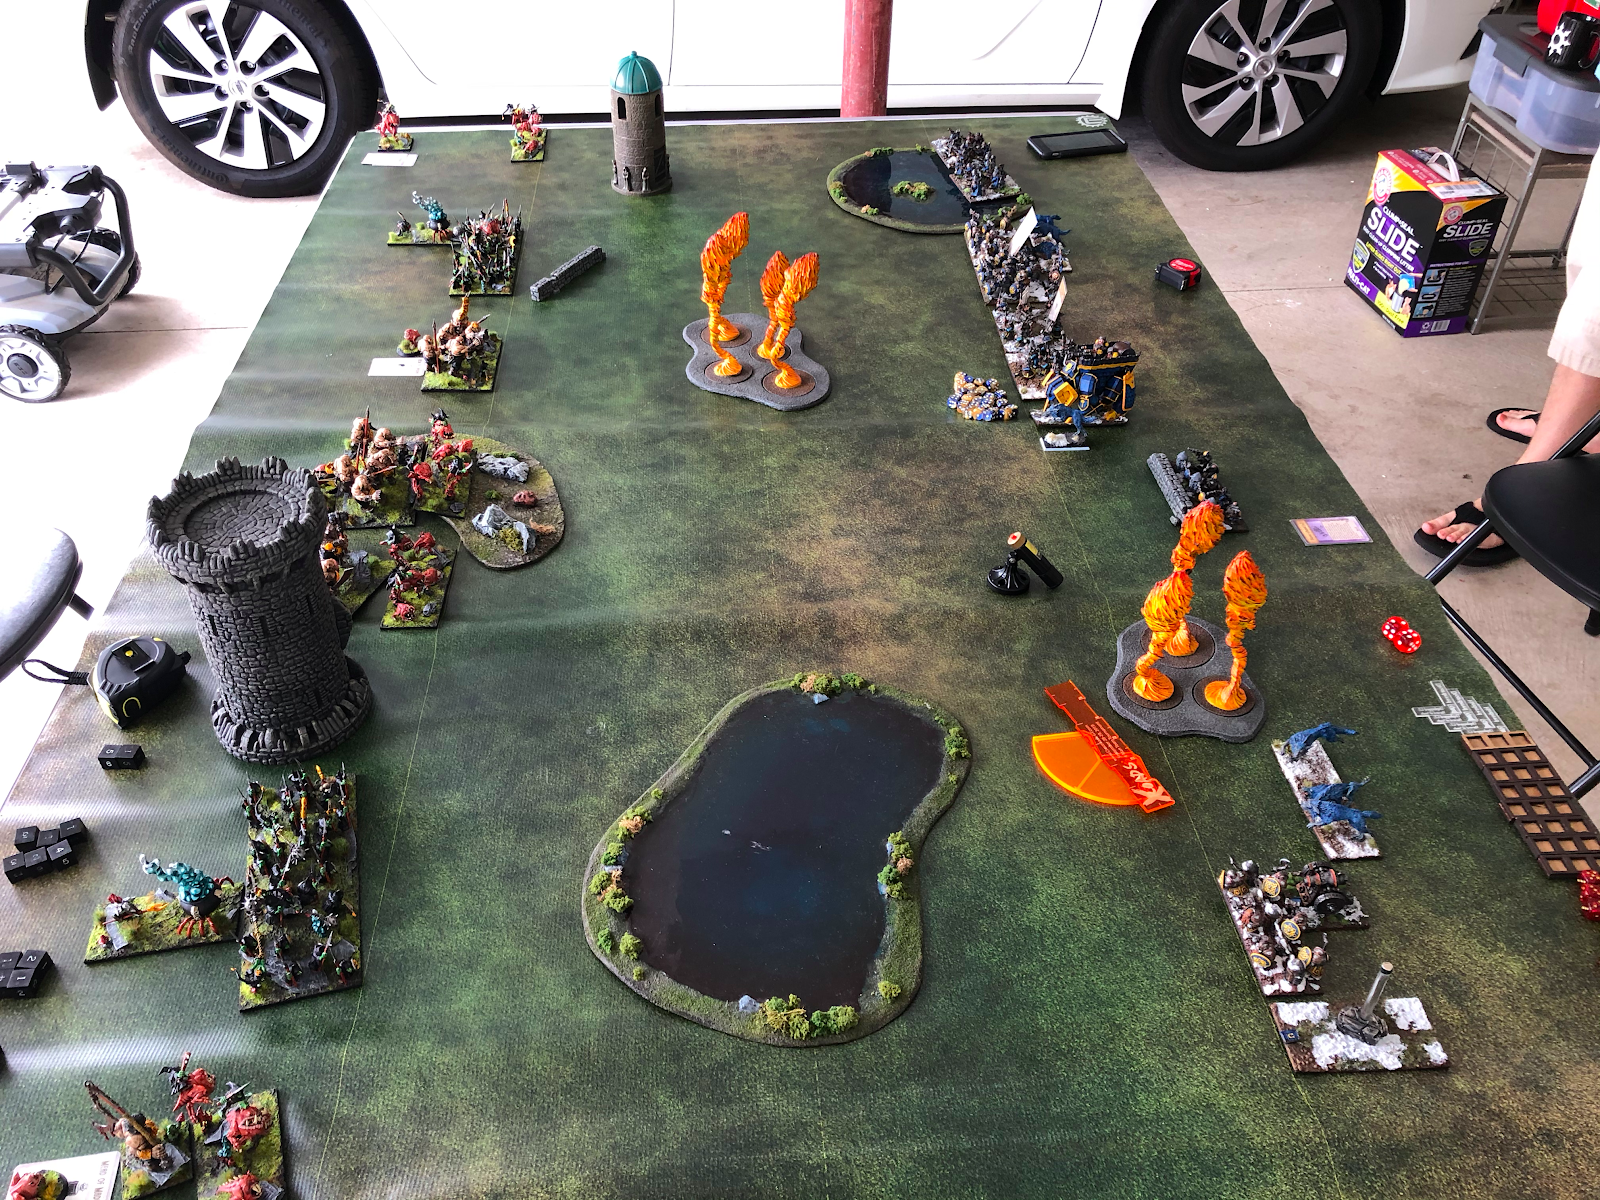
To any new readers that have stumbled upon my blog, welcome! Here is my 1995 point list (because 1995 is the superior points level, in my opinion):
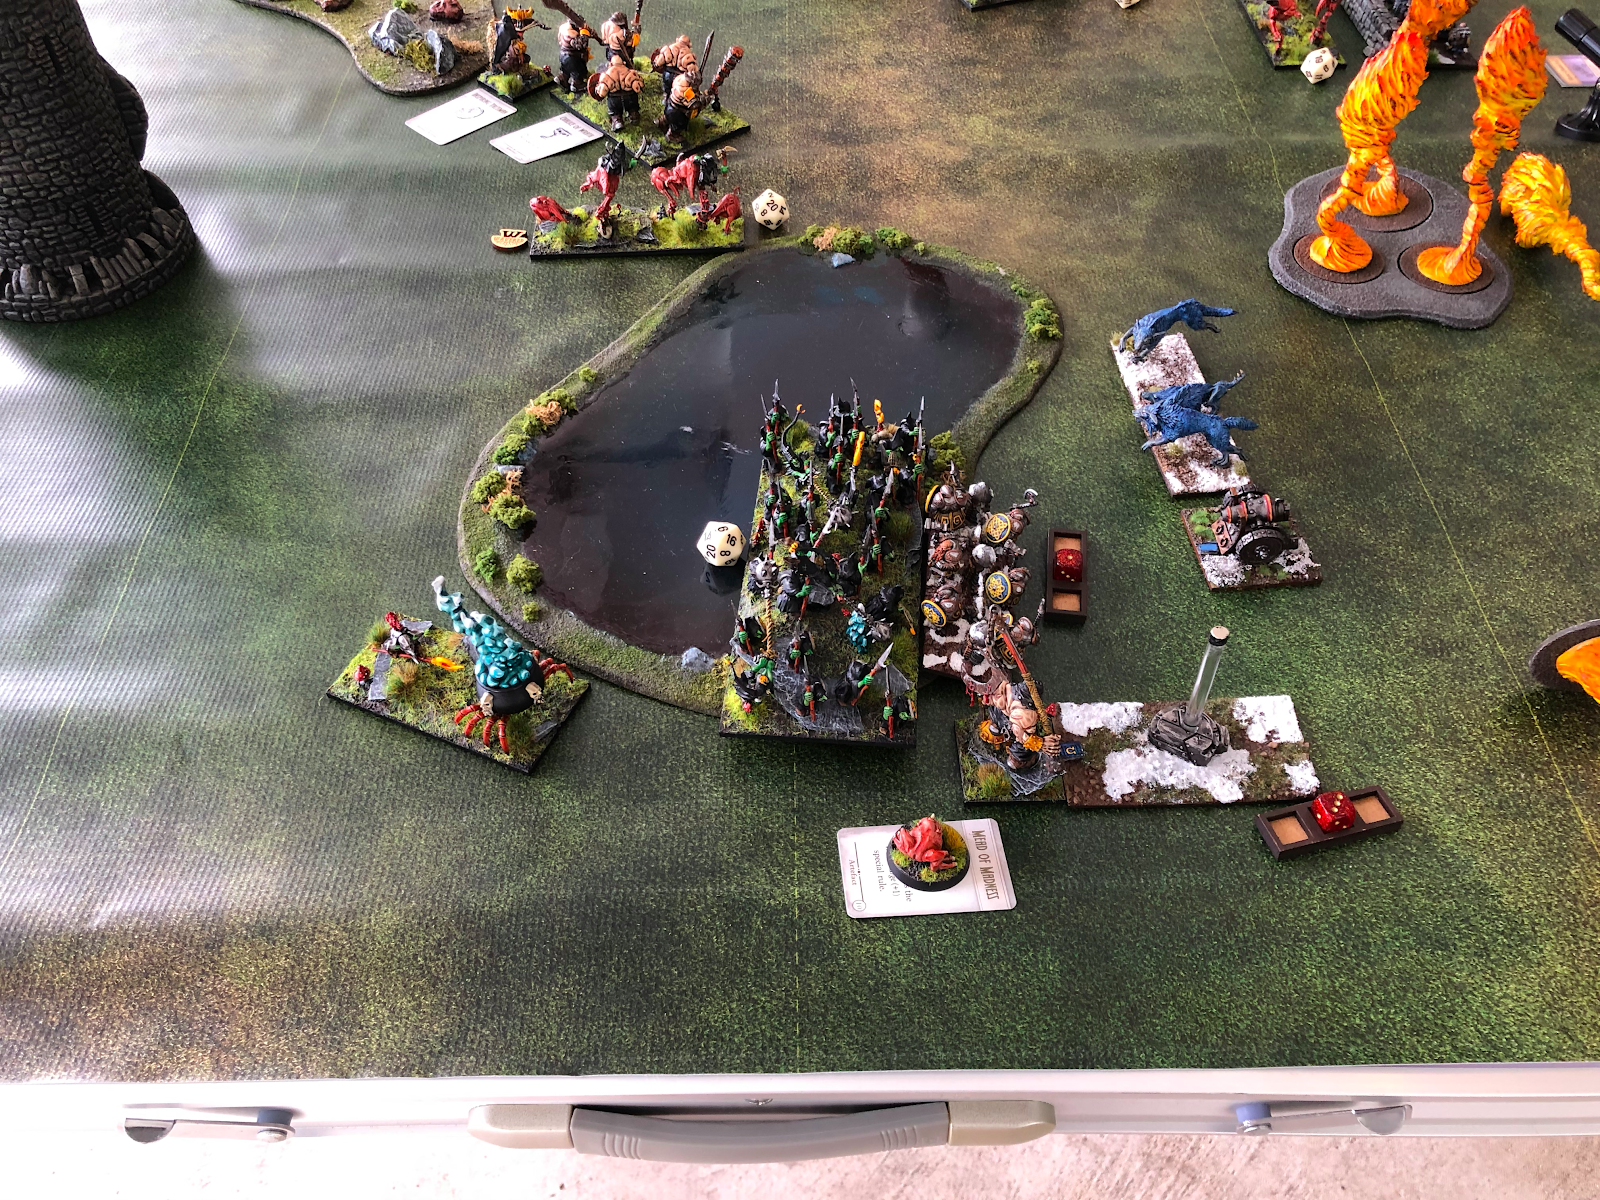
Keith has been known to play both Imperial and Free Dwarfs, but this time he opted for Imperial so as to field his gorgeous Steel Behemoths. His list offered a nice balance of melee and ranged attacks:
The scenario we randomly generated was Invade. This gave me a few advantages right off the rip because Keith’s army was very slow and I would begin the game with 24 Unit Strength to his 17. Almost half of his Unit Strength was concentrated in the two Shieldbreaker Hordes, which basically meant I could prioritize either routing them or ignoring them and routing everything else.
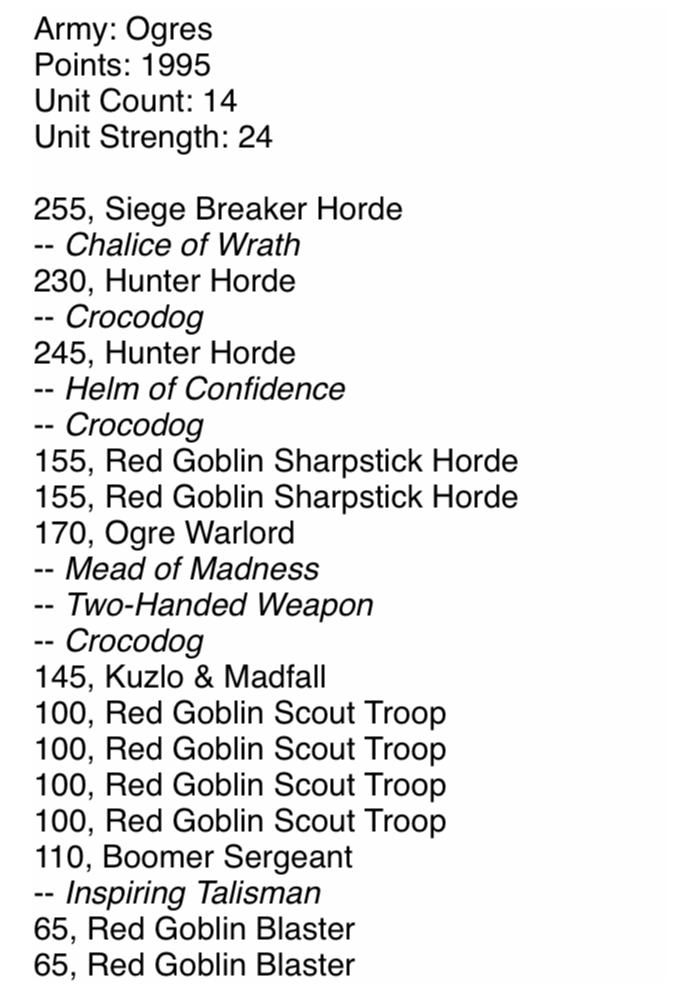
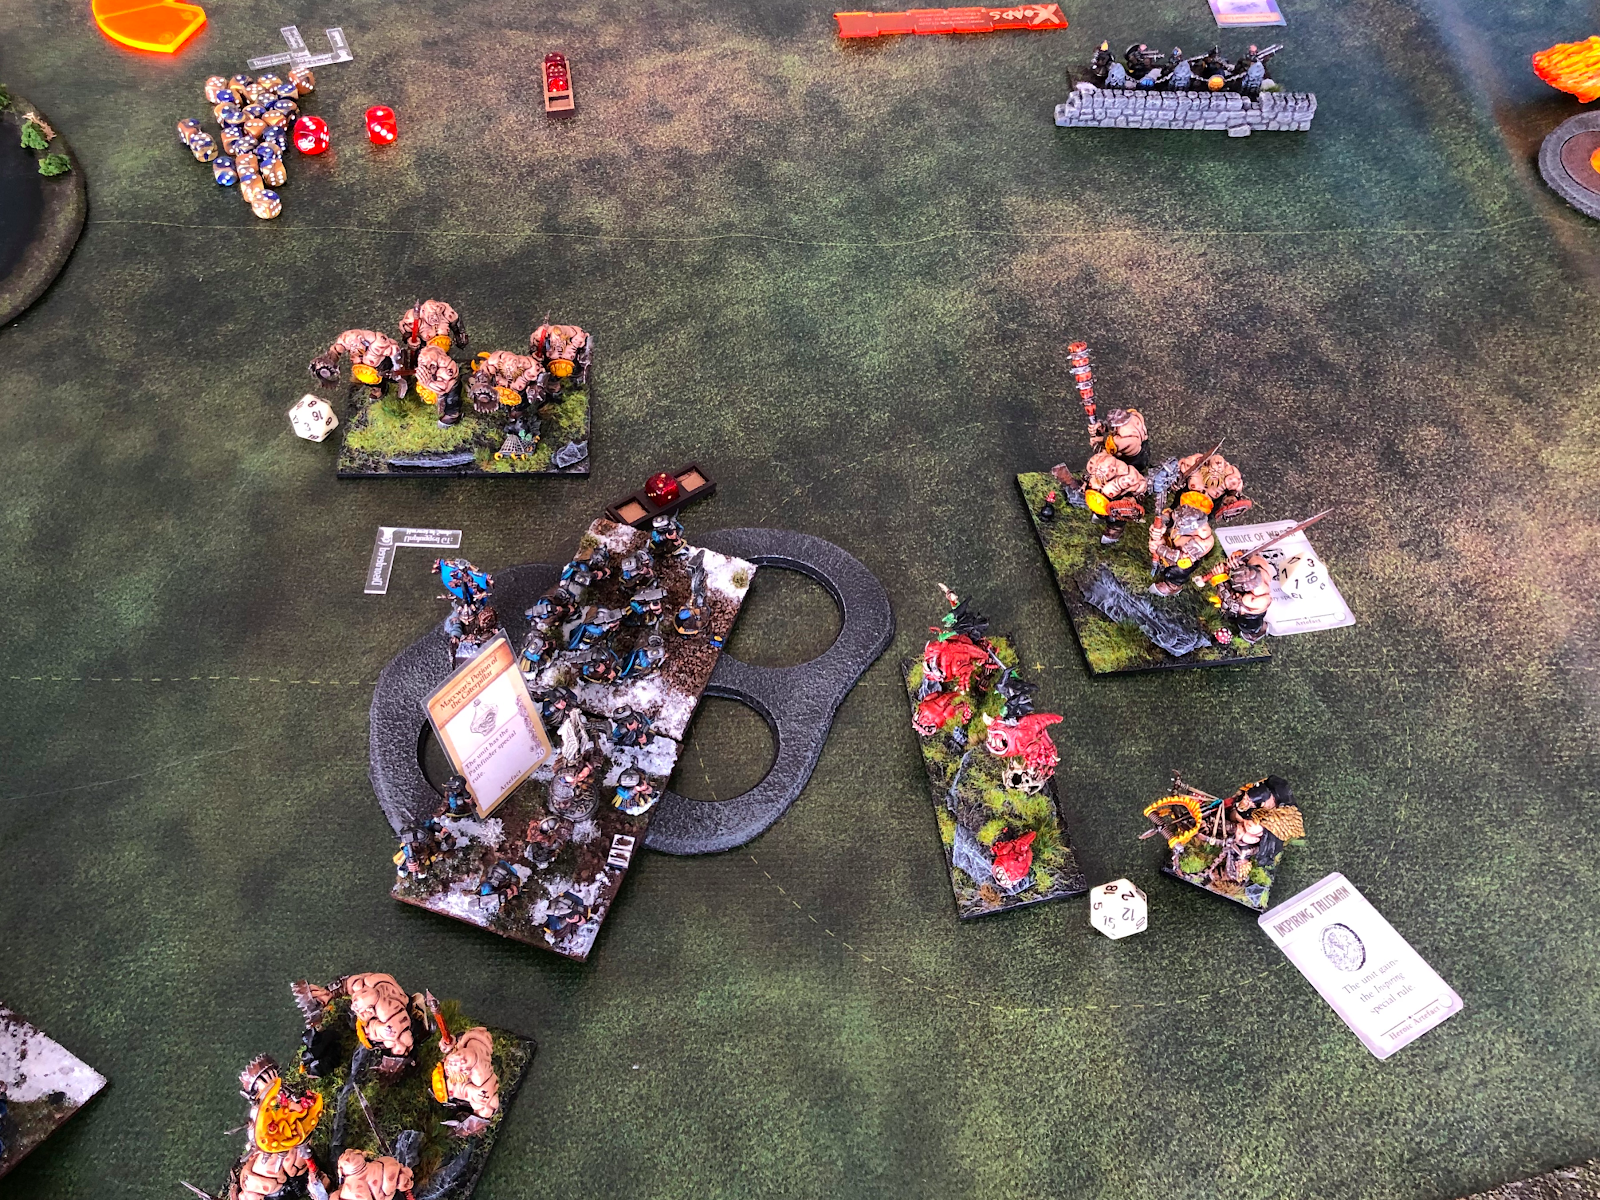
Here’s a look at deployment:

A quick note on the terrain. We played in my garage, and I have one box of Unplugged GT reject terrain (because of redundancy). This means I, unfortunately, do not own any hills or forests. We decided to count the lakes as hills and the flame pillars as forests.
Keith deployed both Shieldbreaker Hordes and the Ironwatch Crossbow Horde on my left flank, anchored by the table edge on the left and a Steel Behemoth on the right. Engaging that group head-on seemed like a terrible decision, so I decided to focus on the center-right, hoping that my Speed and melee prowess would allow me to outmaneuver him and quickly Rout any resistance along the way. I kept a few pieces on the left flank to keep him honest and tasked Kuzlo & Madfall with distracting the Ironwatch Crossbow Horde.
Turn One
Keith won the roll and opted to take the first turn. He ordered his troops full steam ahead. In the ranged phase, the Ironwatch Crossbow Horde and the Sharpshooter Troop each took aim at a different Red Goblin Scout Troop but proved ineffective. If only all of his ranged phases could be like this!
On the right flank, Keith gave me a charge on Golloch’s Fury with a Red Goblin Scout Troop, so I started my first turn by going for it. Golloch’s Gun is pretty terrifying, so if I could do even a single point of damage I could prevent him from firing.
Similar to my previous game against Jon, I pushed aggressively on the flanks and advanced cautiously in the center. I gave the Ironwatch Crossbow Horde the option to either charge a Red Goblin Scout Troop or shoot at them or Kuzlo & Madfall. If he shot Kuzlo & Madfall without moving, the Red Goblin Scout Troop would have a flank charge.
The hill on the right flank obstructed line of sight for both of our units, with the exception of Golloch’s Fury. I was able to land that one point of damage in melee thanks to a fortuitous Vicious reroll. Huzzah!
Turn Two
Keith countercharged the Red Goblin Scout Troop on the right flank with Golloch’s Fury and threw the Ironclad Troop into the mix for good measure. He then charged the Red Goblin Scout Troop on the left flank with the Ironwatch Crossbow Horde. The center of his army continued its implacable march forward.
This turn, the Steel Behemoth and Flame Belcher in the center of the board were in range to fire. These units, along with the Sharpshooter Troop, split their fire between two Red Goblin Scout Troops and a Hunter Horde. Keith was trying to Waiver the Red Goblin Scout Troops without Routing them, as they were screening my Ogres, and being Waivered would seriously limit my options. The right-most Red Goblin Scout Troop did indeed Waiver, while the other Red Goblin Scout Troop and the Hunter Horde were unperturbed. Phew!
Meanwhile, the Red Goblin Sharpstick Horde on my right flank had wandered onto the hill, and the Flame Belcher let loose upon them, dealing 6 damage. Still not enough to threaten their 19/21 Nerve, but certainly a good start.
Onto the melee phase, where Golloch’s Fury and the Ironclad Troop ground the Red Goblin Scout Troop to a bloody pulp. He reformed to face the Ogre Warlord, who was sharpening his blade and grinning maniacally. On the other side of the board, the Ironwatch Crossbow Horde, despite gaining Thunderous Charge (1) from going down the hill, rolled poorly and only managed to Waiver the Red Goblin Scout Troop.

I capitalized on my good luck and charged the Ironwatch Crossbow Horde in the flank with Kuzlo & Madfall. On the right flank, I charged into Golloch’s Fury with the Ogre Warlord and sent the Red Goblin Sharpstick Horde into the Ironclad Troop. The center of the board is where things got interesting.
The Waivered Red Goblin Scout Troop pivoted 90° and moved backward 5 inches to get out of the way (thank you, Nimble). The other Red Goblin Scout Troop rushed forward 20 inches and parked directly in front of the Sharpshooter Troop in order to obstruct their line of sight and clear a charge lane for the Hunter Horde. I put down the measuring tape in front of the Hunter Horde and realized Keith had inadvertently left his Flame Belcher within 14 inches. I declared the charge and skirted past the rest of his center battleline. The Siege Breaker Horde and the other Hunter Horde kept out of Keith’s charge ranges but within their own charge ranges, laying a trap for the next turn.
In melee, I put the hurt on the Ironwatch Crossbow Horde but was still nowhere near Waivering or Routing them with a 21/23 Nerve. The Hunter Horde smashed the Flame Belcher to splinters and then reformed. I was now behind Keith’s army and in a really good position.

The Ogre Warlord put 4 damage onto Golloch’s Fury, which got reduced to 3 thanks to Iron Resolve. The Red Goblin Sharpstick Horde did a measly 1 damage to the Ironclad Troop – let the slap-fest begin!
Turn Three
Keith countercharged everyone on the right flank and brought the Mastiff Hunting Pack Regiment into the fight against the Red Goblin Sharpstick Horde. On the left flank, the Ironwatch Crossbow Horde charged back into the injured Red Goblin Scout Troop, while the Berserker Lord on Brock launched himself into Kuzlo & Madfall.
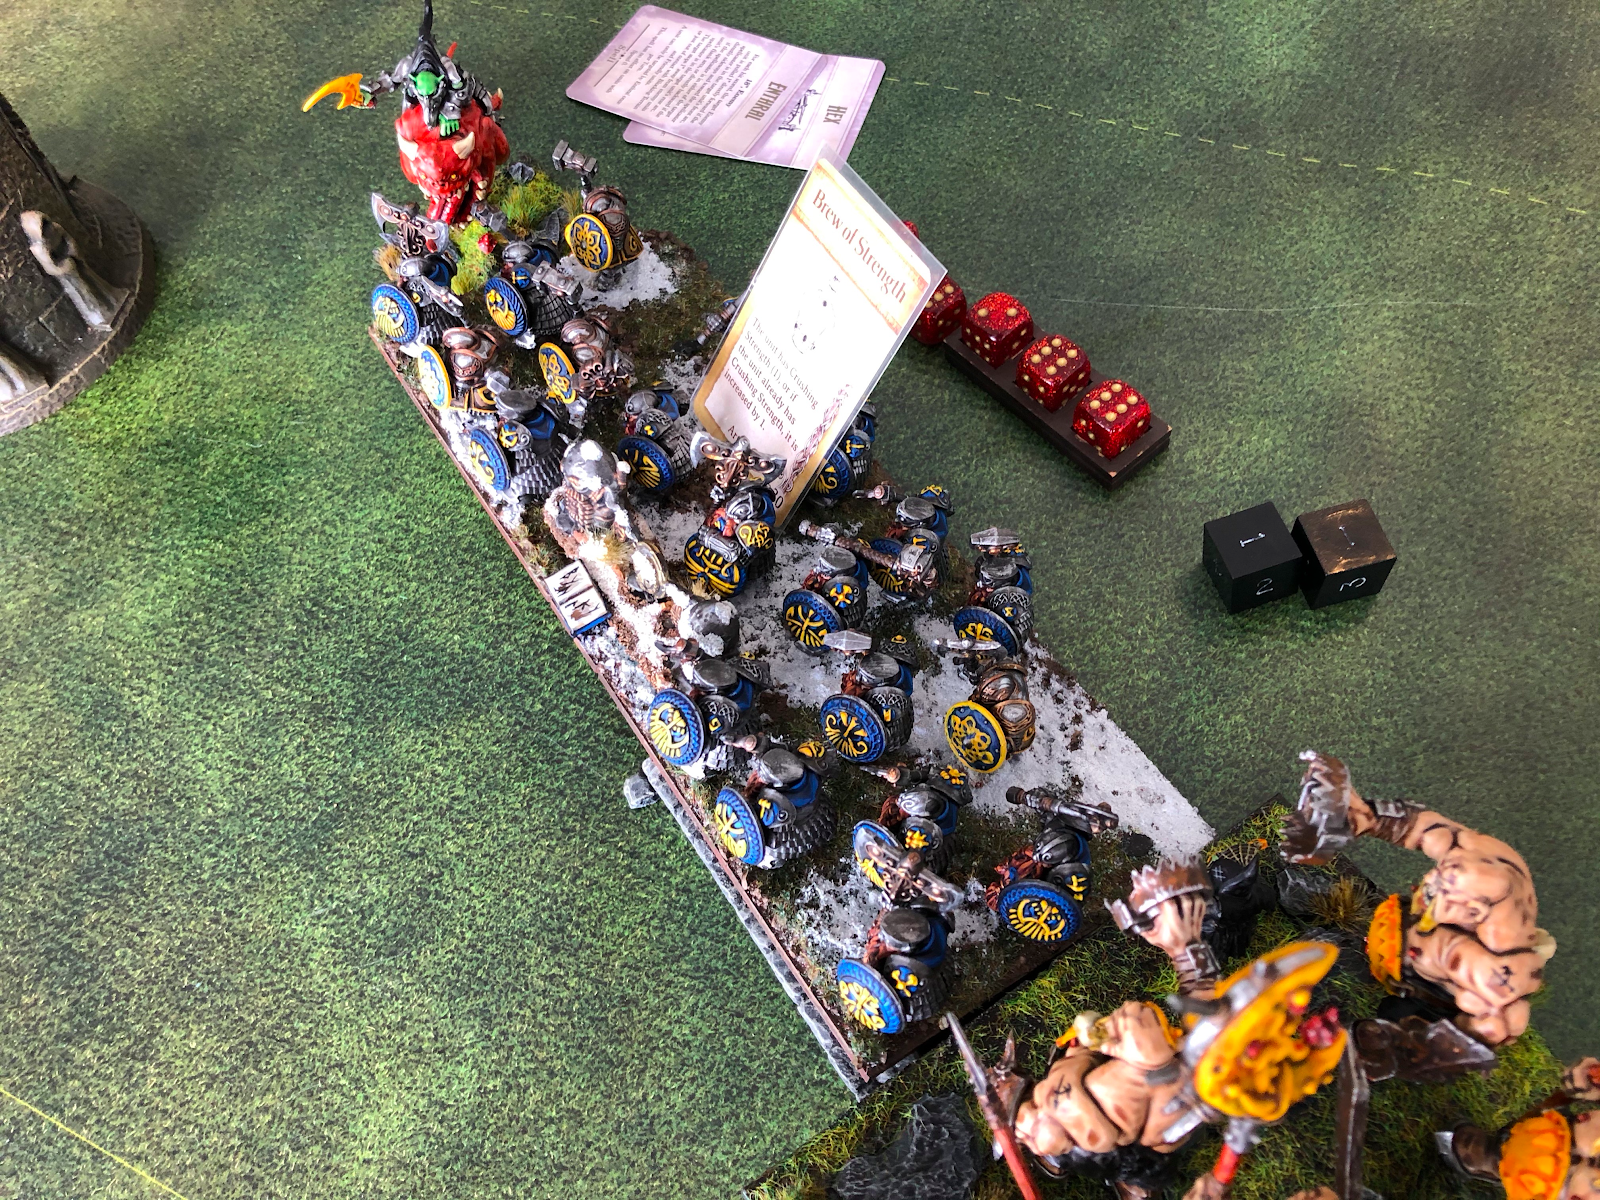
In the center, the Shieldbreaker Horde with Brew of Strength took a Hindered charge on the Red Goblin Sharpstick Horde. The other Shieldbreaker Horde pivoted to keep most of my units in the front, while the Steel Behemoth reformed to protect their flank and take a desperate shot at the Hunter Horde behind them. The Army Standard Bearer hid from any charges and the other Mastiff Hunting Pack Regiment just kind of hung out.
In the ranged phase, the Sharpshooter Troop obliterated the Red Goblin Scout Troop that dared get so close. The Steel Behemoth put considerable hurt on the Hunter Horde, bringing them to a total of 8 damage. Luck was on my side, as Keith failed to roll the 7 he needed to Waiver them.
He fared better in the melee phase, with the Ironwatch Crossbow Horde Routing the Red Goblin Scout Troop. He then reformed to put Kuzlo & Madfall in the front arc. The Berserker Lord on Brock, despite wielding the Blade of the Beast Slayer, failed to Waiver Kuzlo & Madfall.
The Red Goblin Sharpstick Horde got smacked around for another 4 points of damage, bringing the total to 10. Still safe. Golloch brought the Fury and landed 8 points of damage on the Ogre Warlord, but once again Keith couldn’t roll the requisite 7 for a Waiver.
Turn three presented me with another series of opportunities on which to capitalize. The Ogre Warlord went crashing back into Golloch’s Fury, this time joined by a Red Goblin Blaster. The Red Goblin Sharpstick Horde elected to countercharge the Mastiff Hunting Pack Regiment. On the left flank, Kuzlo & Madfall got a few points of damage back thanks to Regeneration (4+), then ignored the pesky Berserker Lord on Brock and instead charged the Ironwatch Crossbow Horde.
In the center, I focused on everything except the Shieldbreaker Hordes. The Red Goblin Sharpstick Horde withdrew and did not countercharge, ensuring that the Shieldbreaker Horde would once again be Hindered next turn. The Hunter Horde nearby pivoted and moved to threaten the flank of that same unit, while a Red Goblin Blaster hung behind in reserve.
The Hunter Horde behind enemy lines charged a Mastiff Hunting Pack Regiment. The previously Waivered Red Goblin Scouts Troop moved into position to chaff up the Shieldbreaker Horde in the forest, and also prevent my Siege Breaker Horde from touching the forest when they charged the flank of the Steel Behemoth – sneaky, sneaky!
The melee phase was especially brutal. The Ogre Warlord, without even needing the Crocodog, hit and damaged with all 7 of his attacks. Yikes. The Red Goblin Blaster added 6 more damage in a glorious explosion, and Golloch’s Fury was no more. Also on the right flank, the Red Goblin Sharpstick Horde, eager to pick on an enemy their own size, Routed the Mastiff Hunting Pack Regiment. Both the Red Goblin Sharpstick Horde and the slightly singed Ogre Warlord reformed to face the brave Ironclad Troop.

The Siege Breaker Horde, with Crushing Strength (2), needed 4’s to damage the Steel Behemoth. But with 36 attacks hitting on 3’s it wasn’t all that difficult. The Steel Behemoth was Routed, and the Siege Breaker Horde could safely line up a charge on the Shieldbreaker Horde for the ensuing turn thanks to the screening Red Goblin Scout Troop. The Hunter Horde handily Routed the Mastiff Hunting Pack Regiment and reformed to face the rear of both Shieldbreaker Hordes.
On the left flank, things got stupid. Kuzlo & Madfall brought the Ironwatch Crossbow Horde up to 11 total damage. With Ravenous Lizard giving a -1 penalty to Nerve, I needed an 11 to Rout them. I rolled the 11 and felt like a bad, bad man. I reformed to keep the Berserker Lord on Brock in my flank and passed the turn over to Keith.
Turn Four
Keith managed to make something out of a bad situation. He charged the Ironclad Troop into the Red Goblin Sharpstick Horde. He charged the Shieldbreaker Horde in the forest into the Red Goblin Scout Troop. He charged the other Shieldbreaker Horde into the Red Goblin Sharpstick Horde, and he charged the Berserker Lord on Brock back into Kuzlo & Madfall.
In the ranged phase he used the Flame Belcher to Rout the Ogre Warlord and the Sharpshooter Troop to Rout the injured Hunter Horde in his backfield.
In melee, both Shieldbreaker Hordes Routed their opponents. However, Kuzlo & Madfall and the Red Goblin Sharpstick Horde on the right flank came out Unwaivered.
On my turn four the slap-fest between the Ironclad Troop and the Red Goblin Sharpstick Horde continued. I charged the Siege Breaker Horde into the forest against the Shieldbreaker Horde. The other Shieldbreaker Horde got triple charged by a Red Goblin Blaster in the front (Hindered), a Hunter Horde in one flank (Hindered), and Kuzlo & Madfall in the other flank. The Boomer Sergeant charged the Army Standard Bearer, hoping to Disorder him and prevent him from casting Bane Chant.
I actually managed to Rout the Ironclad Troop, leaving the Red Goblin Sharpstick Horde victorious on the hill. The Boomer Sergeant couldn’t land a point of damage on the Army Standard Bearer, but it was a valiant effort. The Siege Breaker Horde was Hindered but managed to get a respectable amount of damage onto the Shieldbreaker Horde. The other Shieldbreaker Horde took a combined 26 points of damage! What do you think I rolled for the Nerve test? Did you say snake eyes? Because if you said snake eyes, you were absolutely correct.
Turn Five
The Shieldbreaker Horde in the forest countercharged the Siege Breaker Horde. The other Shieldbreaker Horde countercharged the Hunter Horde. The Berserker Lord on Brock charged Kuzlo & Madfall for the third time. The Sharpshooter Troop moved forward, setting them up to cross the centerline on turn seven.
The Flame Belcher mowed down the Red Goblin Sharpstick Horde on the hill, meaning the right flank was officially devoid of Unit Strength for either army.
The Shieldbreaker Horde in the forest Waivered the Siege Breaker Horde, but that’s why I brought the Chalice of Wrath (nice job, me). The other Shieldbreaker Horde was Devastated, but even with half attacks they managed to Waiver the Hunter Horde. The Berserker Lord on Brock still could not do anything of consequence to Kuzlo & Madfall. Regeneration (4+) is truly great.
The turn passed to me and I countercharged the Shieldbreaker Horde in the forest with the Siege Breaker Horde. Kuzlo & Madfall charged the Army Standard Bearer.
The Boomer Sergeant took aim at the Devastated Shieldbreaker Horde and delivered the killing blow – no snake eyes this time.
In melee I routed the Shieldbreaker Horde and hunkered down in the forest for that sweet, sweet cover. Kuzlo & Madfall did a few points of damage to the Army Standard Bearer but he didn’t care.

Turns Six and Seven
There wasn’t much left on the table at this point, but I still had Unit Strength whereas Keith did not. His sole point of Unit Strength was in the Sharpshooter Troop, which tried their level best to get across the board but got steamrolled by the Siege Breaker Horde. The Berserker Lord on Brock finally earned his keep by finishing off the Hunter Horde. The game ended with 5 Unit Strength to me and 0 to Keith, a convincing victory for the Ogres!

Reflection
As with my previous game, I think I played well, but I also don’t know that I would have won without all that good luck.
That being said, I had a solid plan going into deployment and was able to execute it. It’s a fun challenge to try to set up the best charges for the three Ogre Hordes by using all of the support pieces. I had more units than my opponents in both games, and I imagine that will continue to be the case with few exceptions.
The one-two punch of the Ogre Warlord and Red Goblin Blaster was successful in taking down Golloch’s Fury this game, whereas they failed to take down the Bone Giant last game. They definitely make for a solid team when faced with Defense 6. If I was facing off against this list I would prioritize shooting down the Red Goblin Blasters, and yet I have been able to charge both of them into lucrative melees in both games. I’m not sure to what extent that is a combination of skill on my part, mistakes on my opponents’ part, or sheer luck.
Kuzlo & Madfall once again took MVP. He helped to eliminate 7 points of Unit Strength (480 points of Attrition) and ended the battle with his 1 point of Unit Strength safely on Keith’s half of the table. If we played the game back again it’s highly questionable that he would be as effective but hey, you can’t argue with those results.
Hopefully you have enjoyed reading these battle reports as much as I have enjoyed playing the games and writing them up. I’m getting tired of referring to all of my units with generic names, so next week I have a special blog entry wherein I will reveal the names of my units along with their glorious (or perhaps ridiculous) backstory.


