

Note – this article is part of an ongoing series – previous articles can be found here.
As I mentioned in my last blog, my excitement for Masters is running high. With less than a week to go, I sat down and reflected on the learning points from all of the practice games I’ve been able to squeeze in. This exercise was really meant to help me prepare and play as best I can, but if it piques your interest, dear reader, then I hope you enjoy it!


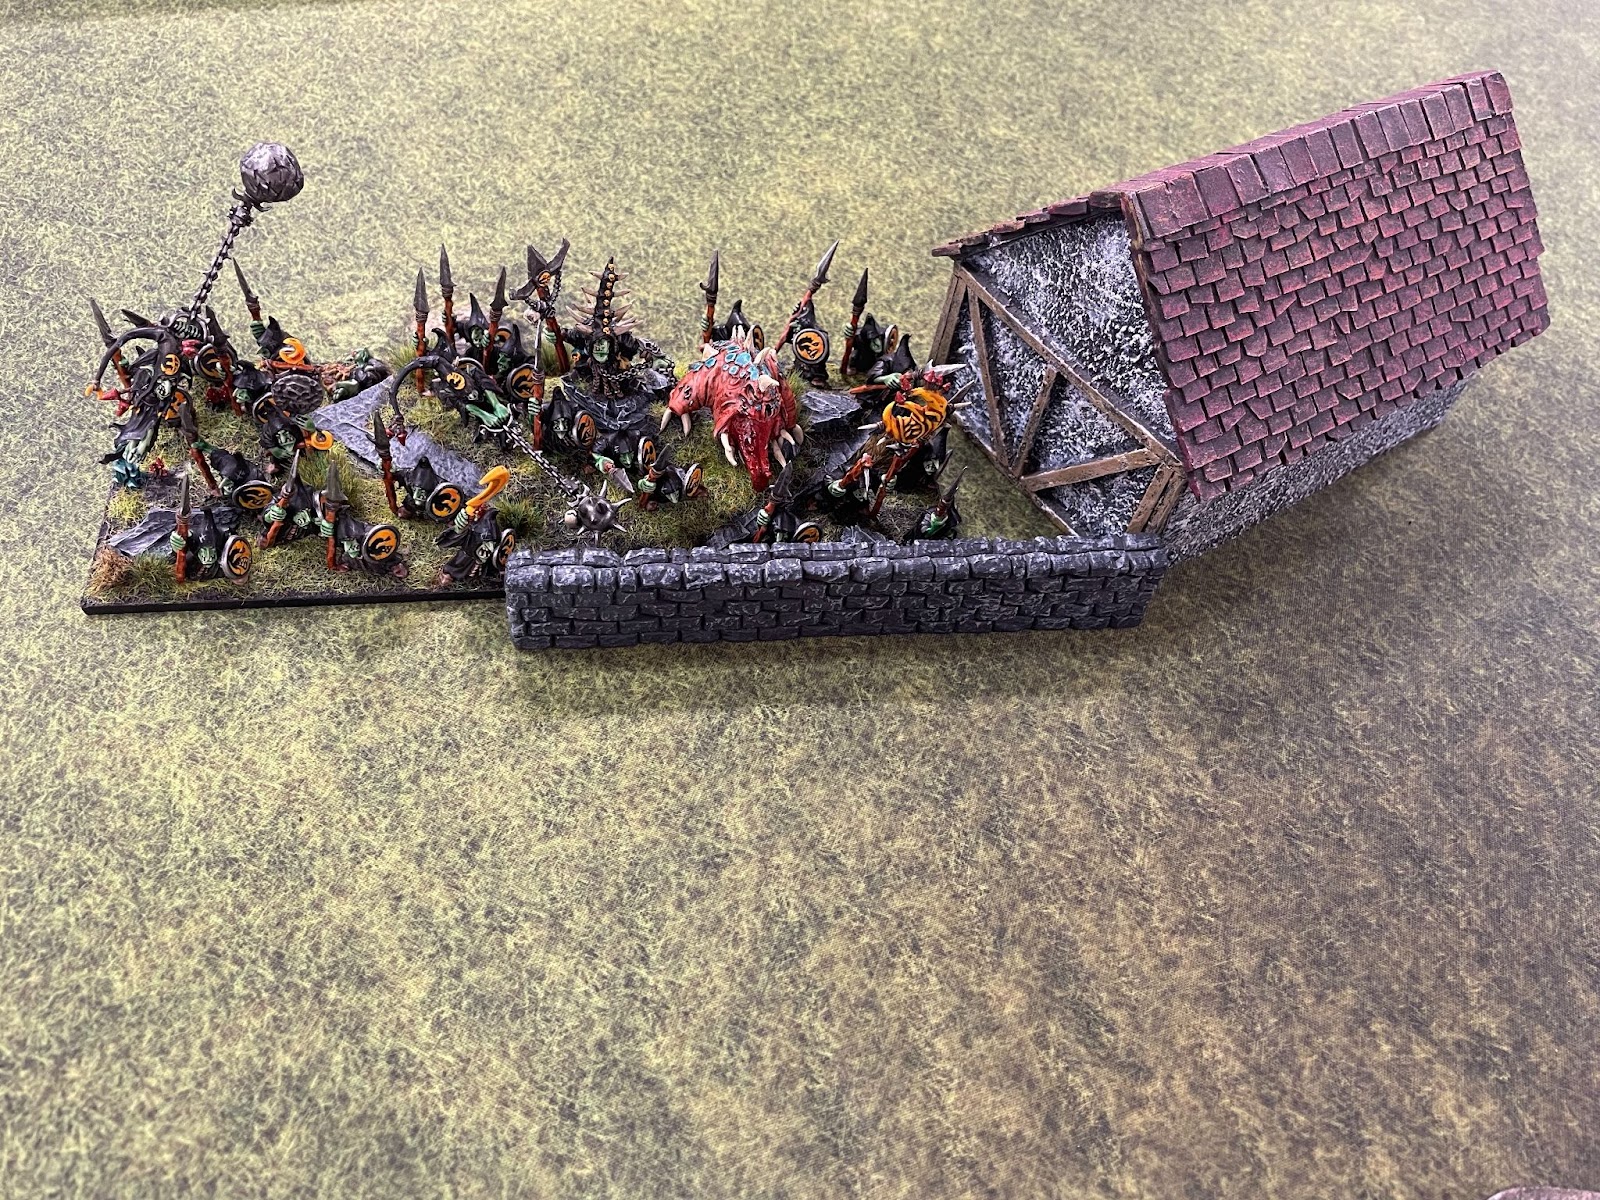
Red Goblin Sharpsticks Hordes
I included these units in the list because I love the look of a proper Goblin Horde. Also, I never see Ogre players running Red Goblin Hordes, and I never see Goblin players running Sharpsticks Hordes. You pay 30 points to gain 5 Attacks and Phalanx, which seemed worthwhile on paper.
On the tabletop I am happy to report that these units have served me well. They have a lot of flexibility in different roles they can perform. They are cheap enough and with high enough Nerve to sit on an objective or in a table sixth all game. They are decent options for holding Loot tokens.

And, perhaps most importantly, they are useful in some matchups for marching on the front lines and taking a charge. The -1 to Hit from Phalanx is effective against many of the best hammer units in the game and ensures that the opponent will either need to invest multiple turns of charges to take them down or will need to charge with multiple units. Both of those situations can be exploited to my advantage.

Because I have two of these units, I can often assign them different tasks in a given game. I am a strong believer in matching your tactics to your backstory, so The Crescent King’s Retinue is always the one to sit back and observe the battle while claiming an objective or a sixth of the table in Control. As the brains of the operation, the Crescent King only puts himself in harm’s way if absolutely necessary.
Red Goblin Scouts Troops
The Red Goblin Scouts Troops were originally included in the list as a delivery system for the Ogres. With a 125mm wide base and Height 3 they can perfectly screen an Ogre Horde to prevent them from getting charged or to block off Line of Sight or provide Cover from Ranged Attacks. This is something that they certainly excel at, but through practice I have found other uses.

With Speed 10, Melee 4, 7 Attacks, Nimble, Thunderous Charge (1), and Vicious (Melee) the Red Goblin Scouts Troops are great at defending against Flying units. Hanging 1-2 units back behind the battleline can prevent Flying units from having a safe spot to land, while pushing them aggressively on a flank can prevent the Flying units from being able to advance in the first place.
At the same time, I have learned it is best to assume that the Red Goblin Scout Troops will be Routed as soon as they receive any sort of damage. With Defense 4 and 9/11 Nerve you really can’t rely on them to survive, making it extremely important that you choose the correct time to put them in harm’s way. Sacrificing them too early, or without obvious gain, can quickly put your whole strategy at risk of collapsing.

Boomers Regiments
The Boomer Regiments were a late addition to the list when I needed to grow from 1995 to 2300 points. Part of the reason for the inclusion was absolutely because on the Counter Charge Ogre Review episode, the hosts unanimously agreed that “nobody would ever run Boomers in Regiments – stick to the Horde.” I sure showed them!
Fielding two Regiments as opposed to a single Horde costs an additional 50 points, but it gives you an extra drop, an extra point of Unit Strength, and the ability to divide your 18 Attacks between two targets. Their shooting, especially when combined with Lightning Bolt from Nomagarok, can dish out a decent amount of damage when the dice Gods allow. The other argument for two Regiments is that they add +2 to Nomagaroks spells when in range, as opposed to +1.

Furthermore, the two Regiments are able to screen the Ogre Hordes perfectly well when the Red Goblin Scouts Troops are off fulfilling other roles (or have simply been Routed). And, though they don’t have a terribly impressive stat line, they can do some real damage if they are given a flank (or lucky rear) charge.
Hunters Hordes
The Hunter Hordes are superb units if you can protect them from being shot off the table. Speed 7, Melee 3, 18 Attacks, Crushing Strength (1), and Pathfinder make them super reliable at dealing out damage. The Crocodog usually adds two additional hits to that charge that you absolutely need to go your way. And while Crushing Strength (1) may seem a little underwhelming, it is easily augmented by Bane Chant from Nomagarok or even Thunderous Charge (1) from charging down a hill.

On the other hand, the units are well equipped to receive a charge due to Ensnare. It gets even better when they are sitting behind an obstacle or in difficult terrain and the opposing unit lacks Pathfinder or Strider.
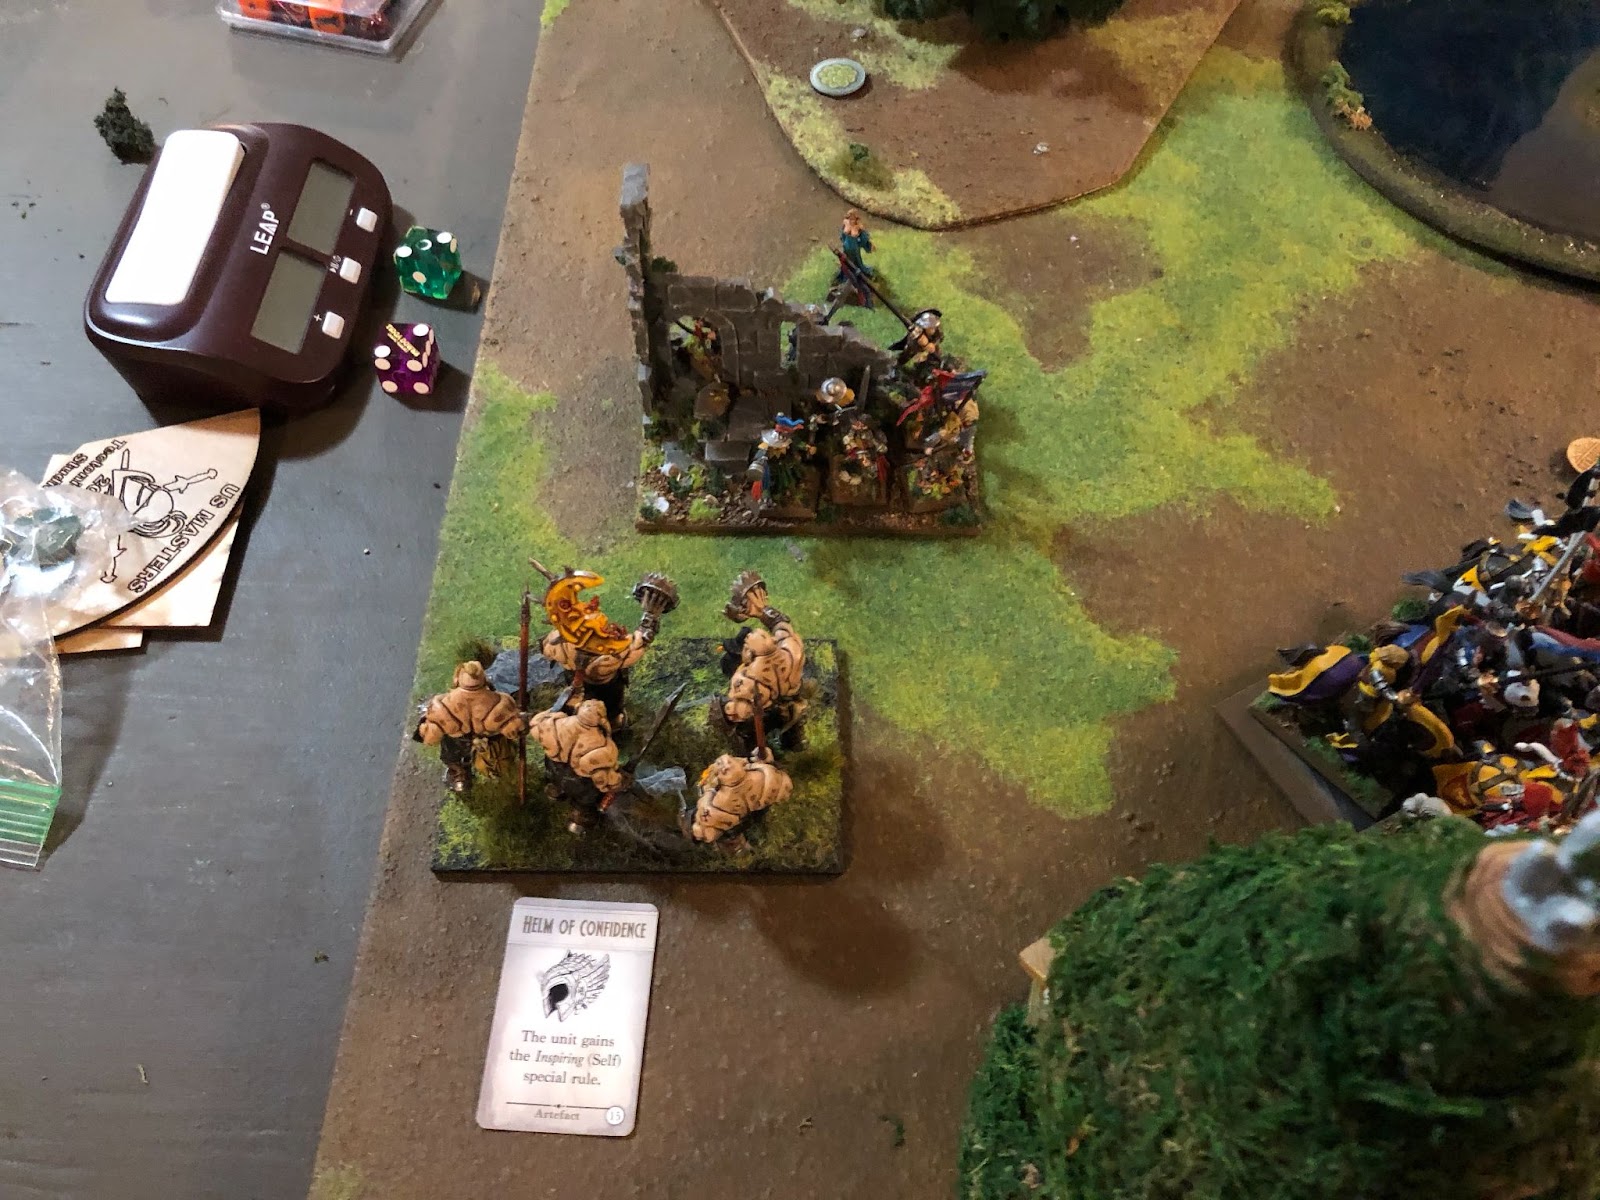
Equipping The Order of the Fearless Foragers with the Helm of Confidence affords them plenty of flexibility in terms of where they deploy and, for that reason, I often deploy them last.
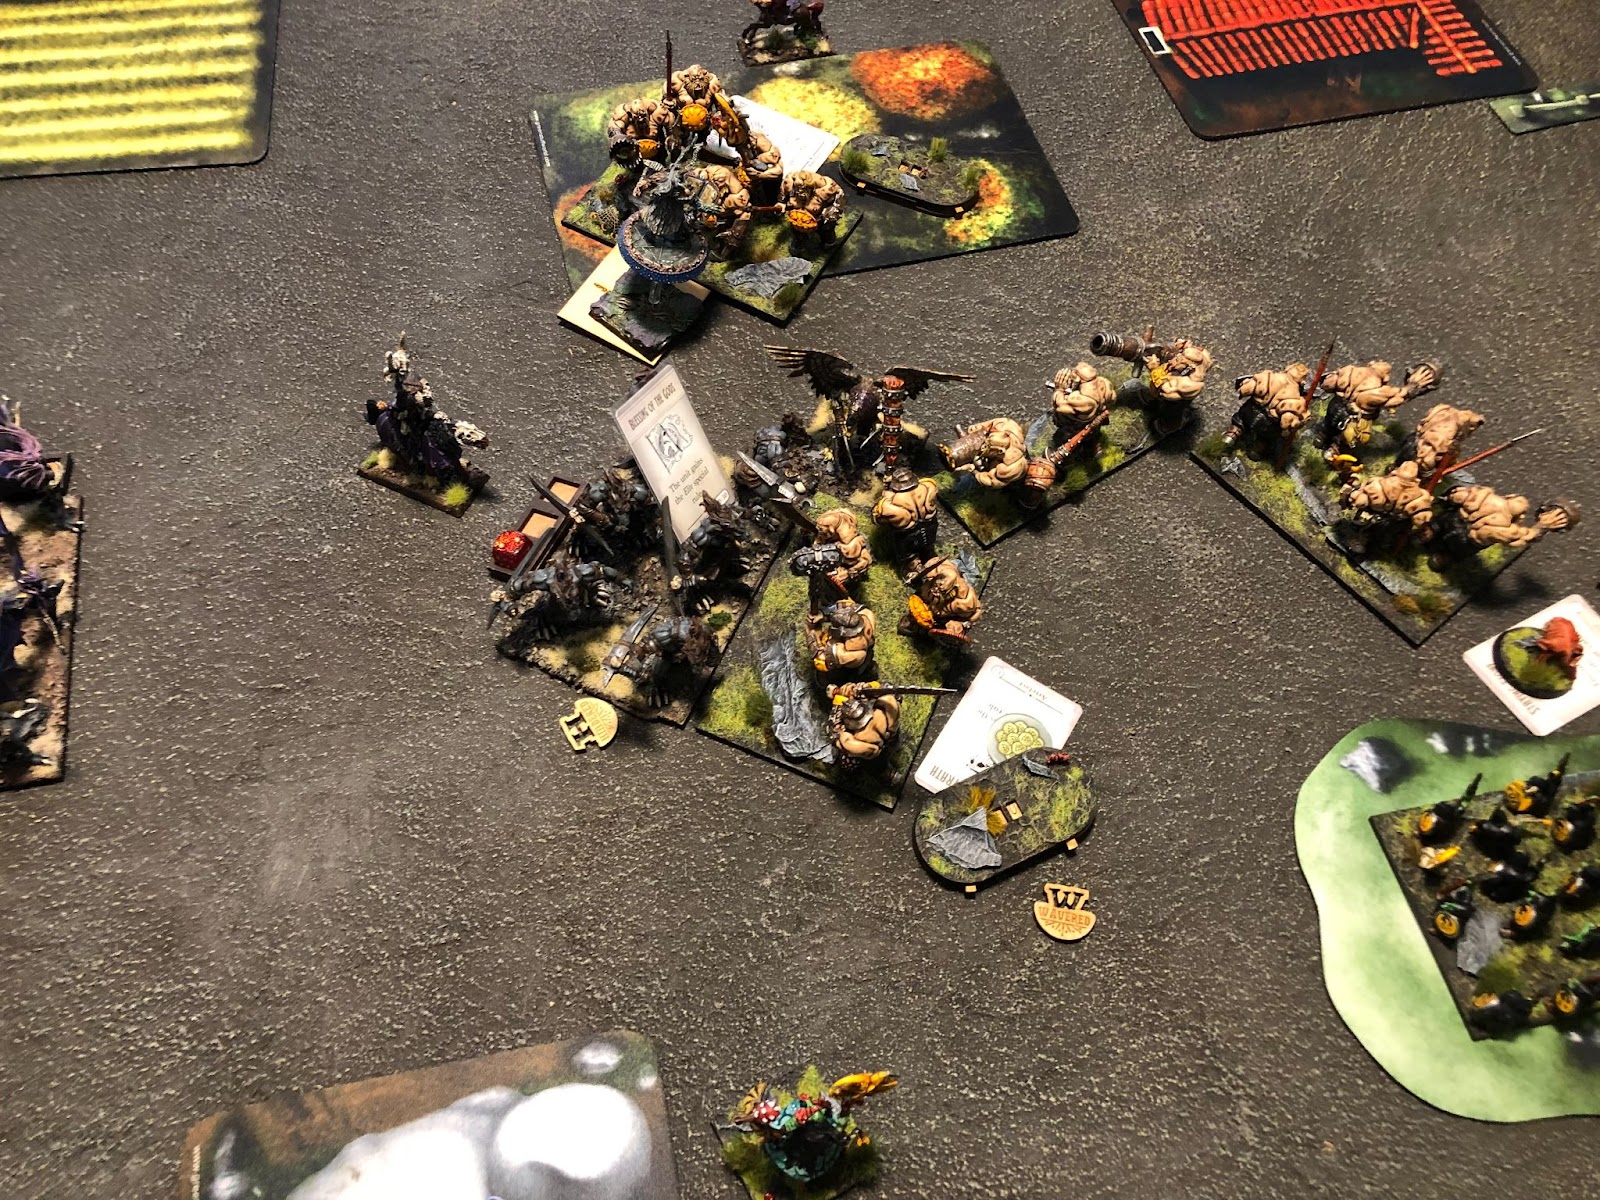
Siege Breakers
The Siege Breakers Horde is probably the least nuanced unit in the list. You point it at an enemy unit and then watch it get smashed to bits. My investment in Chalice of Wrath has proven to be a wise one thus far, as the unit rarely gets hit by Ranged Attacks but is susceptible to an untimely Waiver in Melee. I can absolutely see why many Ogre players (and non-Ogre players) run two or more Hordes of them.

Red Goblin Blasters
At last year’s Masters, in my Round Six game against George, I watched in horror as his Goblin Blaster charged my undamaged Tree Herder in the front and Routed him in one blaze of glory. The amount of threat that this 65 point unit projects is absurd. Sure, it’s just as likely to go out with a fizz as it is to go out with a bang, but your opponent has to respect it.
These units are definitely at their best when they charge in unison with a friend to add that extra bit of damage to push the enemy unit into Routing. And those rare instances where you line up a flank charge? Hoo boy. It’s beautiful.

Ogre Warlord
Much like the Red Goblin Blaster, this guy can be thrown into a combat alongside an Ogre Horde to make certain you Rout the enemy unit. The decision to give him Crushing Strength (3) and Defense 4 was based on my model, which is clearly wielding a massive weapon and has a distinct lack of armour. However, I do find this to be a reasonable choice, as he is easy enough to protect from enemy shooting and the extra point of Crushing Strength is super handy.
He’s also great at tag-teaming with a Red Goblin Blaster, as the two of them combined can certainly make mince meat of an enemy unit.

In my 1995 point list I was running him with Mead of Madness, which I had to drop for 2300 points. It is definitely something that I miss, as Speed 6 sometimes just isn’t good enough on its own. I also imagine the Blade of Slashing would be a better choice in the long run than the Crocodog, but it’s not as thematic.
Kuzlo & Madfall
Kuzlo & Madfall is my favorite unit in the game, hands down. I played it in my Goblin list, and there was never a doubt in my mind that I would play it in my Ogre list. The ability to double-up Brutal and Ravenous Lizard for an effective -2 penalty to the enemy’s Nerve is clutch. He also adds a third source of Pathfinder to my army and can handle tasks that nothing else in the army can.

Hex (3) is one of the tools I need to more seriously consider and effectively use in my games, as it can really throw a wrench in your opponent’s plans if it hits the right unit at the right time. I am going to start putting the spell card on the table during my games to remind myself that it’s an option.
Nomagarok
Nomagarok is too good, I’m not going to even try to deny it. He needs to be hit with the nerf bat. But, until then, I’ll happily field him along with every other Ogre player. The only problem I’ve had with him is deciding which spell is the best to cast on a given turn. Bane Chant (3-6), Heal (4-7) with Vicious (Melee), and Lightning Bolt (4-7) are all fantastic. And oh yeah, he’s even decent in Melee because why not?
Overall Strengths
With 28 Unit Strength and 16 scoring units, I should be starting off many scenarios with an advantage over my opponent. This holds especially true in scenarios where armies need to spread out, such as Control, Pillage, Raze, and Salt the Earth.
I have fewer hammer units than similar style armies, but I make up for that with more chaff units. This enables me to dictate the matchups and protect the Ogre Hordes fairly easily. Those Hordes, by the way, are effective against all types of units when augmented by Nomagarok’s spells.
Though I don’t have any Individuals, I do feel (thanks to so many practice games against Keith) that I matchup well against armies with multiple Flying units or lots of Speed.
Overall Weaknesses
The two things that my army struggles against most are high volume of shooting and powerful Individuals. I have tried my best to mitigate my weakness to shooting by fielding screening units, Pathfinder units, and restricting myself to Height 3 and below so as to hide behind hills. Against a balanced list, this seems to help me quite a bit. But against a skew list, there’s only so much I can do.
Powerful Individuals are a problem because I don’t have any good answers for them. Whether they’re hiding behind enemy units and peppering me with Ranged Attacks or sneaking around to take out my Red Goblin Blasters or hold up an Ogre Horde, I just don’t have anything to put pressure on them.
Goals for Masters
It goes without saying that I am simply grateful to be attending Masters and will be sure to enjoy my time whether I find victory or defeat upon the battlefield. I am a competitive player, and it is Masters, so I absolutely have set some goals for myself that I am trying to achieve.
- Four wins. My best showing at Masters was in 2019 with my super efficient Undead list. I went 3/2/1 (W/L/D) and secured tenth place. I would like to improve upon that record by getting four wins and I’d like to think I’m capable of earning them.
- Best Ogre general. Ogres are tied for the second most popular army at Masters, and the other four Ogre generals are no slouches. This is definitely a stretch goal for me, but it’s something I am going to be clawing tooth and nail to achieve.
- Hold onto as many points as possible in a loss. One of the best aspects of Blackjack Scoring is the wide spread of points the losing player can earn – anywhere from 0 to 14. Every point you earn improves your overall standing, so it’s important not to lose hope or adopt a “screw it, who cares?” attitude when you realize you’re going to lose the scenario.
As always, thanks for reading. Let me know your thoughts in the comment section below and be sure to check back after Masters to see how it all panned out!


Great write-up! Really enjoy this series of articles. Good luck at Masters!
Thank you for the kind words, Ian!