

Note – this article is part of an ongoing series. Click here to view the first article.
With the test model out of the way, it was time to get cracking on the first unit. I opted to begin with a Red Goblin Sharpstick Horde because those units will likely be the most time-consuming. I like to try to get the most arduous unit out of the way first when my motivation is still high.
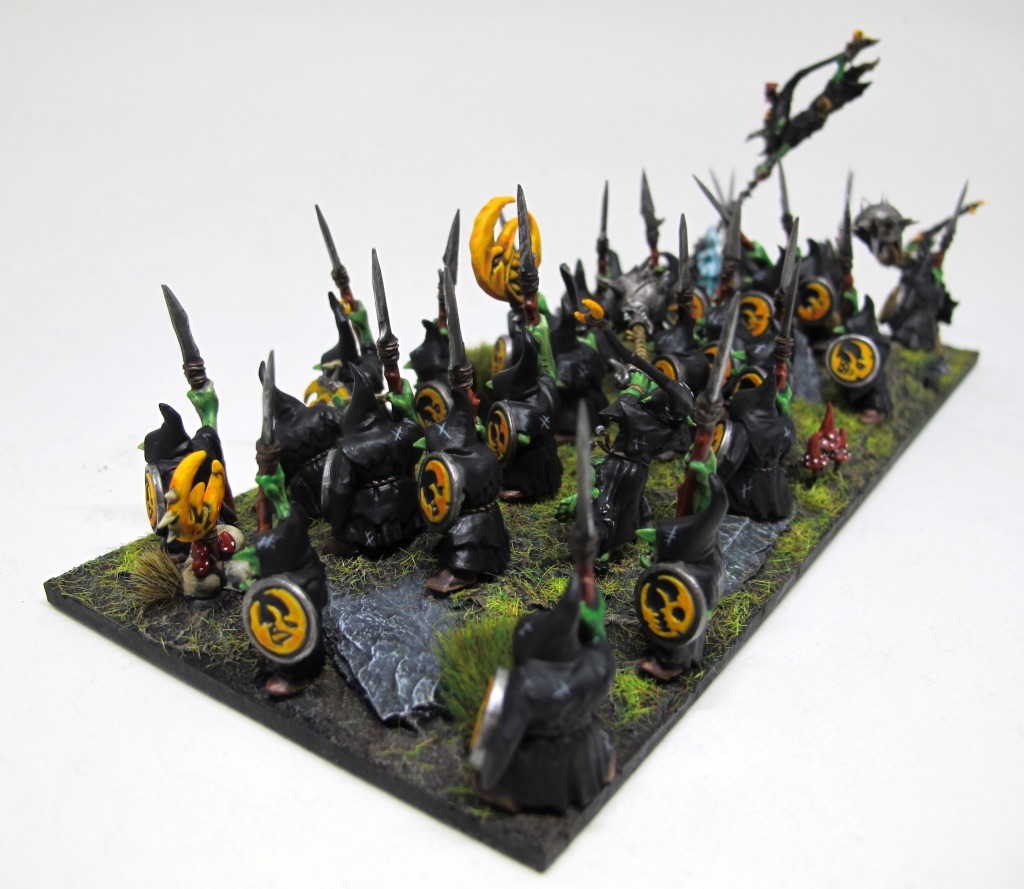
Rather than painting a single miniature at a time, which is my normal process, I decided to batch paint them in groups of five. It is the perfect size to get into a rhythm without getting overwhelmed. I found that it is easy to paint them over the course of two evenings. The first evening is for the more boring work – laying down the black and metal, cleaning up the mistakes with Wraith Bone, and washing with Nuln Oil. The second evening is for applying all of the colors with Contrast paints and doing the minor highlights.
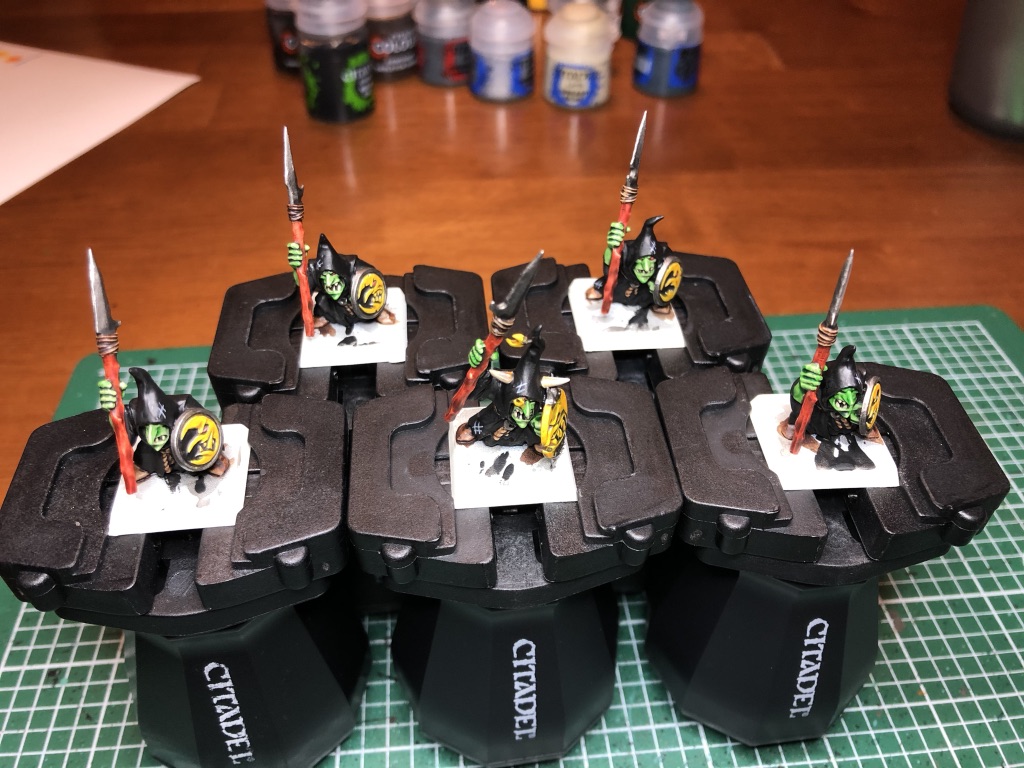

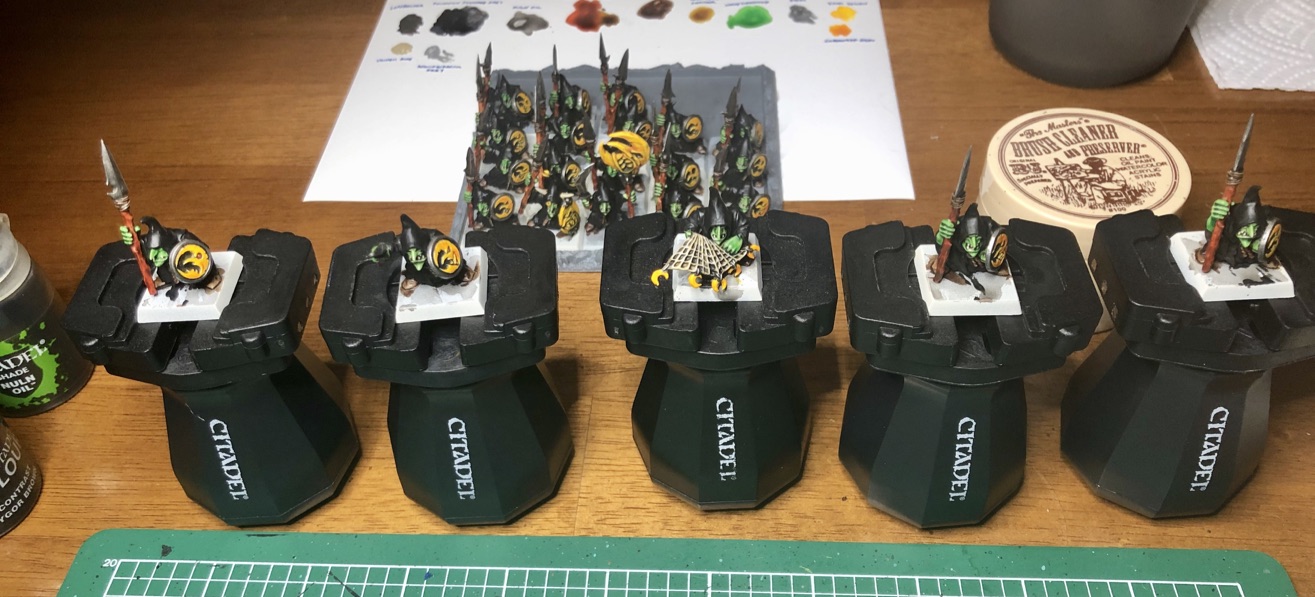
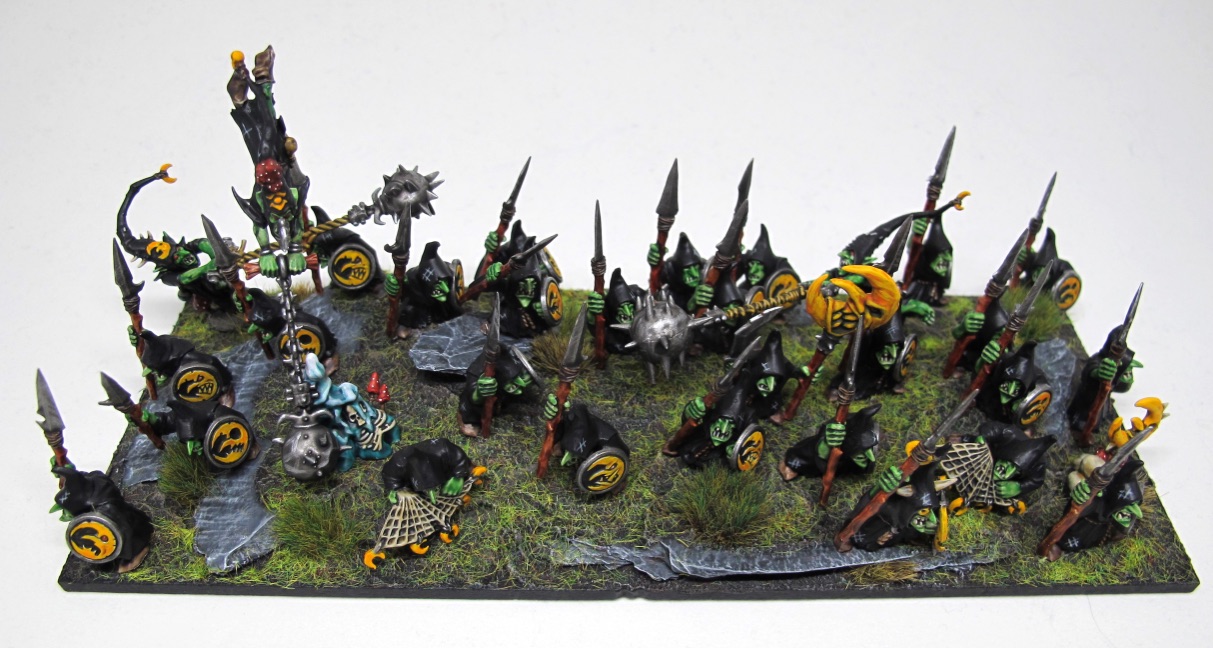
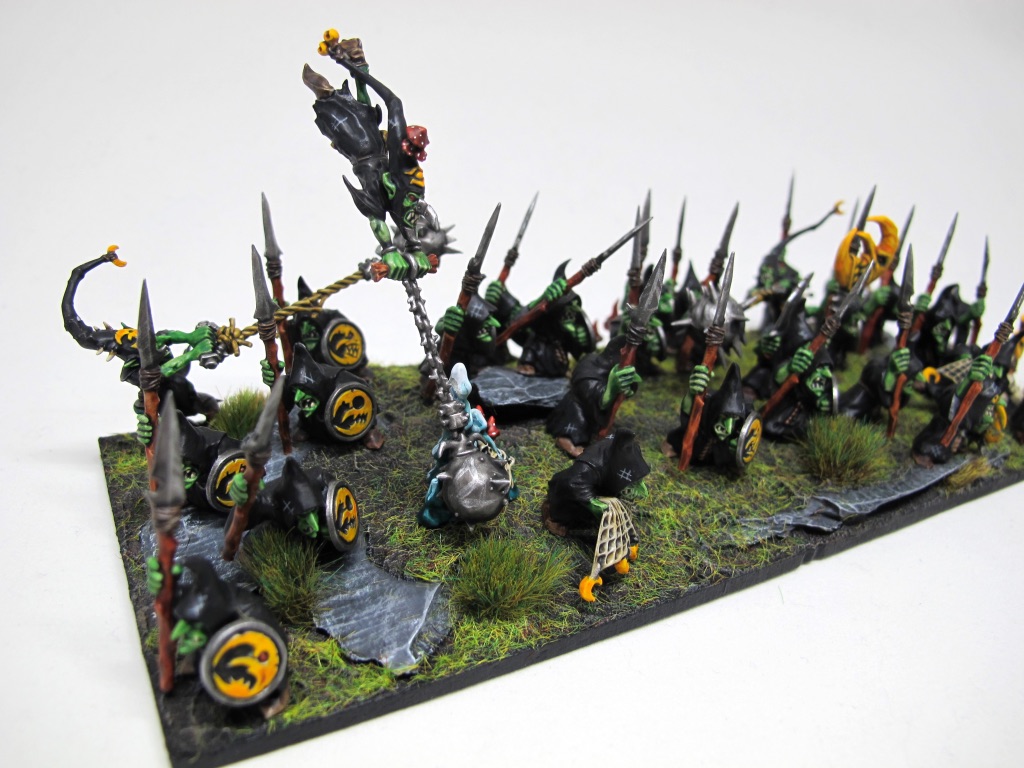
Once I hit my stride, the Horde came together fairly quickly. I intended to meet Preferred Model Count (PMC) by painting 30 miniatures, not because I am a strict believer in the rule, but because I wanted to make sure the unit base would look full. It’s a HORDE of Goblins, it should be positively bursting at the seams. In order to add some variety and break up space, I built three Fanatics to include in the unit. These models went together smartly and were a real treat to paint.

In what seemed like no time at all, but in reality, it was a couple of weeks, the first unit was painted and ready to be based!
As you may recall from my previous blog post, I want to transport this army using the Battle Foam Magna-Rack system. That means I need to sink magnets into my unit bases. Fortunately, I have a friend with a laser cutter who has been creating his own unit bases and burning holes in precise locations for inserting magnets. As an aside, I highly recommend you befriend someone with a laser cutter! I put in an order with him and they arrived within a matter of days.
After gluing 16 rare earth magnets into the base – I had to be sure it would hold – I got to work designing it. I was inspired by Billy Smith’s articles on unit basing and wanted to recreate the varying heights that he achieved. I picture the army marching over some rugged, uneven terrain with lots of grass, rocks, and low shrubs. I didn’t have quite the same materials as Billy, so here’s what I did.


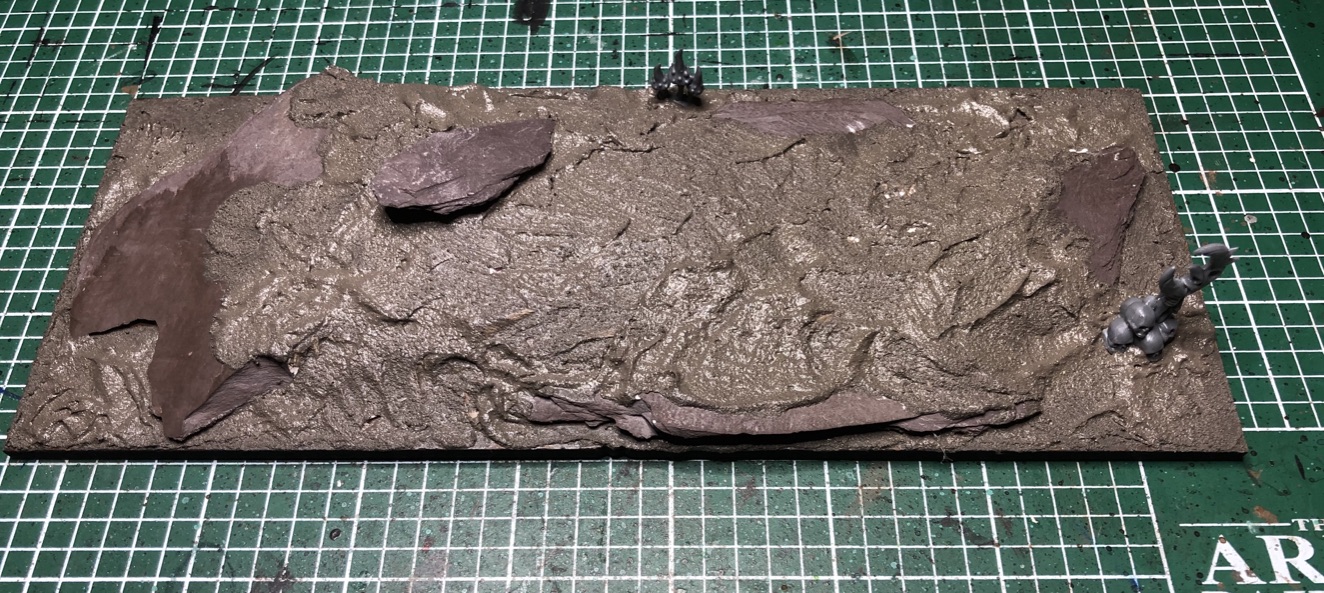
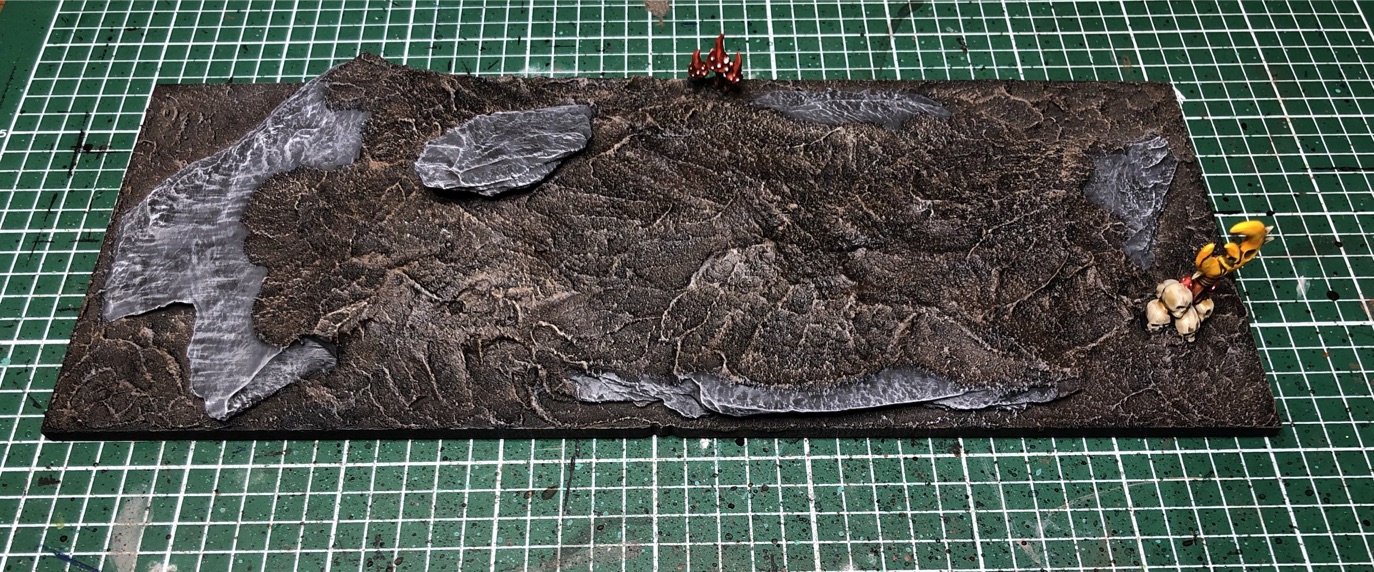

It was a good thing I glued so many magnets because the slate and spackling ended up being pretty heavy. Fear not, the base still holds firm, even when turned sideways or upside down! It was also a good thing that I went with my friend’s bases, instead of the Ironheart Artisans bases I have used for previous armies. Those bases have a tendency to warp when you apply lots of basing materials, but this sucker remained perfectly flat. Yes!
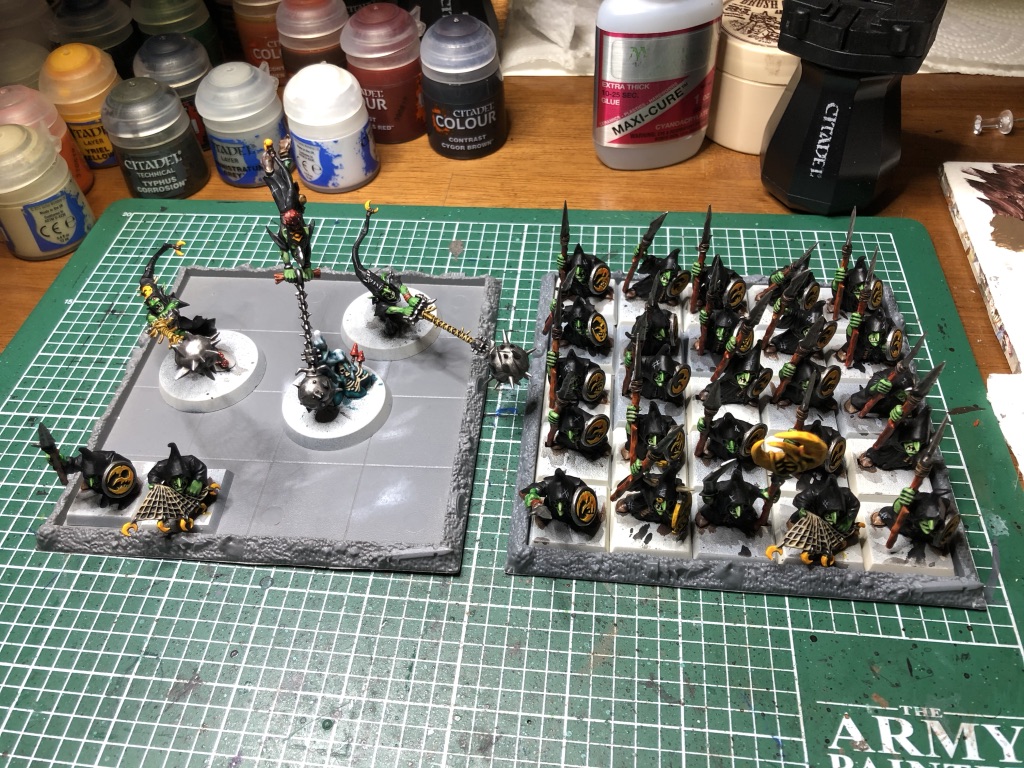
The final step in the process was to arrange the models in an aesthetically pleasing manner and glue them to the unit base. The unit base is not flat/smooth, which meant I had to use a touch of Vallejo Dark Earth in addition to super glue in order to create a solid join for some of the models. I also set up my lightbox and took higher quality photos of the finished product.


GREAT progress, a full horde down already! Love the rabble-y look to the unit as well, with the tasty new fanatics for added spice. I also appreciate the basing WIP shots, nice to see how tools and materials I already use come together to make a proper scenic base (grinding through loads of 40k basing for me right now :P)
Excited for the next update!